
Which Body Filler?

Since I am still awaiting information on the tests I need to prepare for from the college, I’ve just been flipping through and starting with what sparks my interest. One of the first things was working with body fillers. This is something I already have experience with and I am curious to see some of the recommendations made on the subject.
Starting with the filler compositions and advancements I found it fascinating how they have become what they are today. Some of the earliest repair techniques consisted of using lead filler or solder to “fill” the dents, using a torch to bond it. With the advancements in the automobile came thinner metals making this method practically obsolete. They heat required for a lead repair would warp modern, thinner metals. In the early 50\’s epoxy based fillers came out but were slow and not practical.
It would have been around the mid 50’s when polyester based fillers came about. They were not like the are today and the first polyester fillers were very brittle and hard. It would be common to use a grinder to cut them down as modern sanders were not around yet, it would result in an extreme amount of dust.
But enough about the history, I am more concerned about what we are using now. Today\’s fillers are made with higher quality resins and basic ingredients would include the polyester resin that binds it together, and talc as a bulking agent, talc is what gives the filler its easy sanding properties. Talc is the same thing you\’d find in a baby powder, used to absorb water……also in the case of fillers it does the same thing, which is why your advised not to get it wet! In the case of fiberglass fillers your still using the polyester resin as your binder, but rather then talc, glass fibers are used as the bulking agent. This results in harder sanding but it does makes the product waterproof.
Your polyester fillers are basically broken down into your heavyweight fillers, lightweight, premium, short-strand/long strand, finishing putty and specialty fillers. Here\’s how they compare:
Heavyweight Fillers – They are basically talc and resin. Used for dents or gouges on a damaged panel, one advantage is they are less likely to produce pinholes.
Lightweight Fillers – They are the most popular fillers and account for 80% of the market. Lightweight fillers have 50% of there talc replaced with glass spheres which makes them lighter, This improves there adhesion, sand-ability and water resistance. Typical uses are the same as heavyweight fillers. It\’s also worth noting the glass spheres help maintain a more consistent mixture of resins and bulking agents throughout the life of the product.
Premium Fillers – They are the same as lightweight fillers except they contain specialized ingredients that improve there sanding-ability, sag resistance and are less likely to pinhole. Uses are the same as heavy and lightweight fillers.
Fiberglass Fillers – The basic ingredients are either short or long fiberglass strands and polyester resin. They are typically used to provide more strength or in the repair of a fiberglass piece. You might use them over a patch repair on a rusted out panel.
Finishing Fillers – Finishing fillers are made similarly to lightweight fillers, they use more finely ground talc particles in there production. They are used to fill minor scratches, pin-holes or dents. One big advantage to this filler is that is can be applied over OEM paint rather then grinding to metal like the others.
Specialized Fillers – If you look hard enough you will find these uncommon fillers such as an aluminum filler that is primarily used in restoring classic or exotic cars. They are made with polyester resins and aluminum particles are used as there bulking agent. Other specialty fillers might include a spray-able filler which is used similarly to a finishing putty.
All of the fillers shown require the use of a peroxide hardener to activate and cure the resin. There are one part, air drying spot putties that can be used for minor filling. One drawback with them is they tend to swell when top-coating with a primer or other solvent based coating. When painting they also pose a larger risk of bleeding through the paint.
When mixing filler it is best to use a few spreaders or some sort of method that removes the un-mixed filler from the slick before applying. As you mix the same filler stays on the spreader and shouldn’t be applied to the panel. Mixing should be done in a sweeping, downward motion as if applying on the car. If you use a mixing stick to stir the filler and hardener it will result in bringing much air into the mix and cause pinholes in the application.
Mixing should always be done on a proper mixing board and especially not on a piece of cardboard. I had always know that it would soak up the resins and also introduce air into the mix but what I wasn’t aware of was how it can contaminate your mixture. Cardboard often is coated with a wax for waterproofing reasons and when you mix on it, it dissolves into your filler. You are able to mix on glass, metal, hard plastic or specialized, coated mixing paper.
When activating your filler with the peroxide you should take some measures to make your hardener consistent. You can loosen the cap slightly and knead the hardener back and forth in the tube to prep it, it should come out as a consistent solid paste out of the tube.
Fillers are usually mixed with about 2% of hardener, when mixed improperly you can experience several problems including (but not limited to) : Poor adhesion, slow drying, runs, lifting, stays tacky, excessive pinholing, poor feathering. A very common problem is over-hardening. This produces excessive gas and is what can lead to excessive pinholing, it also poses the risk of color bleeding in your topcoat, bad adhesion and hard sanding.
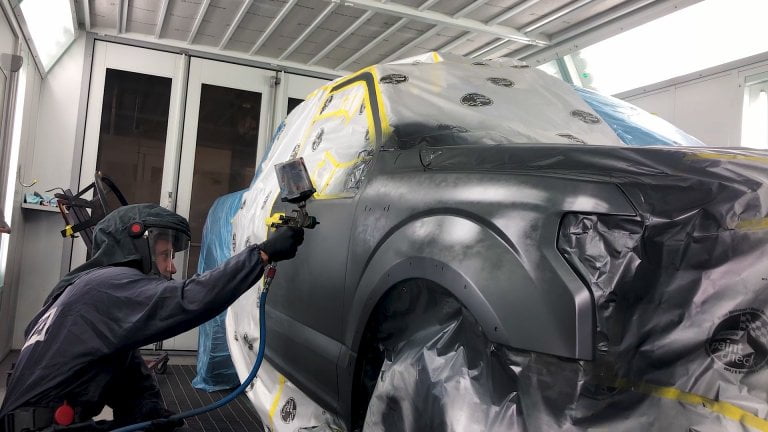
When preparing to apply fillers you should grind down to the metal and bring it out a few inches beyond the damage. Repair the damage so you aren’t using more then 1/8” in filler. The panels should be cleaned and de-greased before grinding, once you have bare metal all that is necessary is blowing off the metal and wiping with a tack rag. Some OEM company\’s recommend using an epoxy primer before applying filler, more particularly with aluminum because the filler will adhere better to the epoxy then the metal.
Mixing Body Filler


Please i need more information on bodyfiller ingredent and production techniques
Redards